

Providing an Organic way of Gardening from the White Mountains of Arizona
If you have any questions or you are interested in learning more about his Flick-A-Seed Soil, just call us at, (928) 205-3438!
Featured products
-
MegaSea - Water Soluble Seaweed Powder - FREE SHIPPING!
Regular price From $29.98 USDRegular priceUnit price per$75.00 USDSale price From $29.98 USD Sale
Sale -
MegaVeggie - Annual Soil Amendment for Vegetable Gardens - FREE SHIPPING!
Regular price From $34.98 USDRegular priceUnit price per$175.00 USDSale price From $34.98 USD Sale
Sale -
MegaMator - Organic Fertilizer for Tomato Plants - FREE SHIPPING!
Regular price From $34.98 USDRegular priceUnit price per$175.00 USDSale price From $34.98 USD Sale
Sale -
MegaFish - Organic Hydrolyzed Liquid Fish Fertilizer - FREE SHIPPING!
Regular price From $29.98 USDRegular priceUnit price per$60.00 USDSale price From $29.98 USD Sale
Sale


Multimedia collage

Your collection's name
Video

Gardening Info
-
How To Amend and Prep Your Existing Garden Beds
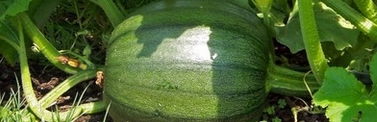
Each year prior to planting, it is ideal if you add at least ½” of finished compost to the soil of your vegetable garden beds. We also recommend sprinkling MegaVeggie on top with a ratio of 1-3 cups (depending on the condition of your soil) per 100 square feet of garden bed.
Finished compost will add to the microbial activity in your soil and will replace a lot of nutrients taken out of your beds the prior season, and MegaVeggie contains 24 different organic soil amendments that are ideal for vegetable gardening – things like feather meal, kelp meal, blood meal, texas green sand, worm castings, guano and more.
Then, ongoing, don't forget to use MegaFish and MegaSea. These two products are the organic alternative to chemical fertilizing. MegaFish is a hydrolyzed liquid whole fish product that provides fast-acting and long-lasting nutrients to the soil that feeds the whole plant. It contains protein and three primary plant nutrients: nitrogen, phosphorus and potash.
MegaSea seaweed contains all the beneficial trace minerals necessary for overall plant health. It does a lot of great things for plants: it helps create an environment in the soil that will help plants weather frost and drought conditions, therefore helping extend the season a bit, as well as helps raise the natural sugar levels in plants which helps ward off insect and disease problems.
If annually you add compost and MegaVeggie, you'll be starting the season off right. Then, by using MegaFish and MegaSea thereafter (along with MegaMator for tomatoes and MegaPepe for peppers), you'll have a fantastic 100% organic program for amending soil for a more bountiful harvest!
Happy Gardening!
- Bryan
-
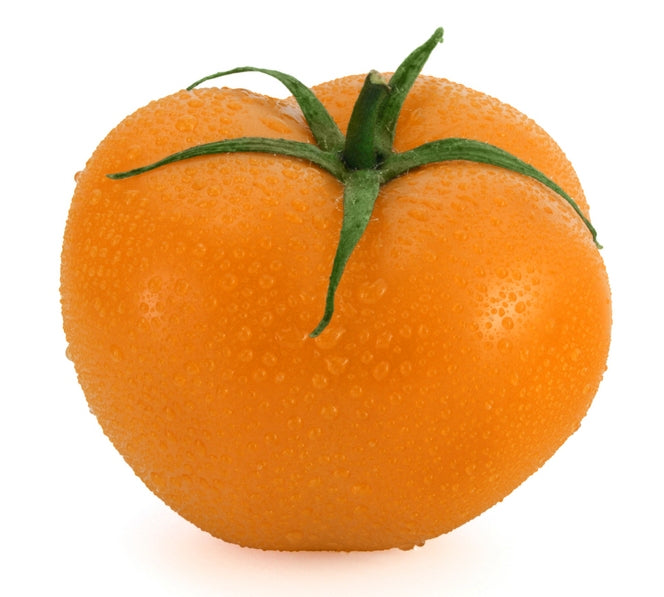
The Art of Watering Tomatoes
There has been a lot of debate about how to water a tomato plant. Too much and you’ll get fewer tomatoes, not enough and they will crack. The quality of the fruit is defiantly on the line. Here is a system I developed for beginners, which also works for old-timers like myself. First you need to understand the crop. It’s okay to let them dry out between watering when they’re young -- to the point where they’re just about to wilt from lack of water. This will produce flower production. They think they’re dying and when they do get watered they go into full flower production. Their whole job is to produce seed for the next generation, so they think “Okay, this is it, the only water I'm going to get” and the kick it into gear. So, don't over-water in the beginning.
When fruit starts to form you need to count how many days it takes for the plant to start to wilt. Lets say it’s 5 days. In that case, your watering schedule will be every 4 days. This will change with weather and outside temperatures, so adjust accordingly. This way they get just enough with out drying out completely when in fruit production. When fruiting, don't let them dry out because this is why your tomatoes crack. They store water in their fruit for drought, and they will take this water if needed. The tomato shrinks, and then when you water they fill their storage container (tomato) and they burst. There really is an art to watering tomatoes! -
Tips for Growing Onions with Large Bulbs
Onions don’t compete very well with other plants because they have a really shallow root system, so organic seaweed products like MegaSea will help by promoting strong root development. If you use a fish emulsion product such as MegaFish and a compost tea or soil amendment as a side dressing, such as MegaVeggie, the onions will also have all the phosphorus, nitrogen and other trace minerals necessary for really sweet onions.
If you want larger bulbs, here’s some other tips. Grow the onions until the stalks are about 9” tall, then trim the green stalks in half (so about 4-5” remains of the stalk). Then, let them grow again until they are about 12” tall, then cut in half again to 6”. Do this 3 times, which will force more energy into the roots and will promote larger bulbs.
Then after 3 times, wait until the onions mature. When you see 4” of dead brown at top of the stalks, cut water off to the onions at this point and wait a month before harvesting. This will promote a better storage capability for the onions and better sweetness. At this point, knock over the stalks with rake in one direction 90 degrees down to the ground, leaving the bulbs still in the ground. Then after a week, pull the bulbs and lay them on that side, and let them dry for at least 2 days. Then flip them over the other direction and dry the other sides. By letting them cure at least 3 days in the sun, it will make them less acidic and it will turn enzymes into sweetness so they won’t affect sensitive tummies.
Then, after this, don’t remove the dirt on the onions themselves because this will fool the onions that they are still in the ground and they won’t start to break down. This will give you 6 more weeks of storage. You can simply braid them if you like and hang them in cool spot. Onions that generally only last about a month can last up to 3 months this way!